Backpacking Recipes: How to Make Dehydrated Food
As a backpacker, I love starting my outdoor trips. The calm of nature is amazing. But, finding good food for these trips can be hard. That changed when I found homemade dehydrated food for backpacking.
Making your own trail meals saves money and lets you create tasty dishes. You can make meals that are better than store-bought ones. Let’s dive into the world of dehydration and learn how to make delicious, light meals for your next trip.
Table of Contents
Understanding Food Dehydration Basics
Dehydrating food is a traditional method for food preservation, moisture removal, and nutrient retention. It’s perfect for backcountry nutrition. The process uses heat and airflow to remove water, usually between 95°F and 160°F (35°C to 71°C). This stops bacteria from growing, keeps food fresh longer, and makes nutrients more concentrated.
The Science Behind Dehydration
Dehydration is simple. It works by removing moisture from food. This makes it hard for bacteria, mold, and other harmful organisms to grow. The goal is to get the water content down to 10-20%. This stops spoilage and keeps food good for a long time.
Benefits of Dehydrating Your Own Trail Food
- Significantly reduced weight and volume of food for backpacking
- Extended shelf life, sometimes up to several years with proper storage
- Retention of most nutrients, as the drying process preserves them
- Cost-effective way to preserve seasonal or surplus produce
- Ability to customize flavors and recipes for your personal preferences
Food Safety Considerations
When dehydrating food, keeping temperatures right and drying evenly is key. Bad drying can cause harmful bacteria to grow. Always keep dehydrated foods in airtight containers to stop moisture and contamination. Checking the moisture level, usually 10-20%, shows if food is safe and lasts longer.
“Dehydrated foods are lightweight and convenient for camping, backpacking, travel, and emergency preparedness.”
Essential Equipment for Food Dehydration
Starting a backpacking trip with homemade dehydrated meals needs the right tools. A food dehydrator is key. Look for one with adjustable temperature, like Excalibur or BioChef, for drying different foods well.
You’ll also need some extra tools for food prep. Non-stick sheets are great for drying liquids and purees. Mesh sheets are best for drying fruits, veggies, and solids. A vacuum sealer helps keep meals fresh and light for hiking.
Other helpful items include a digital scale for exact portions, silica gel packs to dry out moisture, and a timer for drying times. When picking a dehydrator, think about its size, tray material, and fan placement. This will help you choose the best one for you.
| Equipment | Key Features | Recommended Models |
|---|---|---|
| Food Dehydrator | Adjustable temperature, fan-powered drying, stackable or drawer design | Excalibur 3926T, Nesco FD-1040 Gardenmaster Pro |
| Non-Stick Sheets | Prevents sticking and facilitates easy removal of dehydrated foods | UKCOCO Silicone Dehydrator Sheets, Presto Dehydro Electric Dehydrator Sheets |
| Mesh Sheets | Allows airflow for drying solid foods like fruits and vegetables | Nesco FD-37A Square-A-Matic Dehydrator Sheets, Excalibur Dehydrator Mesh Sheets |
| Vacuum Sealer | Removes air from packaging to extend shelf life of dehydrated foods | FoodSaver V4840 2-in-1 Vacuum Sealer Machine, Mueller Vacuum Sealer Machine |
With the right gear, making tasty and healthy dehydrated meals for backpacking is easy. Think about size, material, and fan placement when picking a dehydrator. This will make drying food efficient and easy.
Best Foods for Dehydration
When planning your backpacking menu, choose foods that dehydrate well. These should provide the nutrients and energy you need. Good options include dehydrated fruits, vegetable chips, jerky, dried beans, and instant rice. These foods are lightweight and can be easily rehydrated to make tasty meals on the trail.
Fruits and Vegetables Guide
Many fruits and vegetables are great for dehydration. Look for small, uniform pieces for even drying. Fruits dehydrate best at 135°F to 140°F (57°C to 60°C). Vegetables do well at 125°F to 135°F (52°C to 57°C).
Proteins and Meats Selection
For protein, dehydrate lean meats like minced beef or chicken. These jerky options are packed with nutrients and are lightweight. Dehydrate meats at 145°F to 160°F (63°C to 71°C) for safety.
Grains and Legumes Options
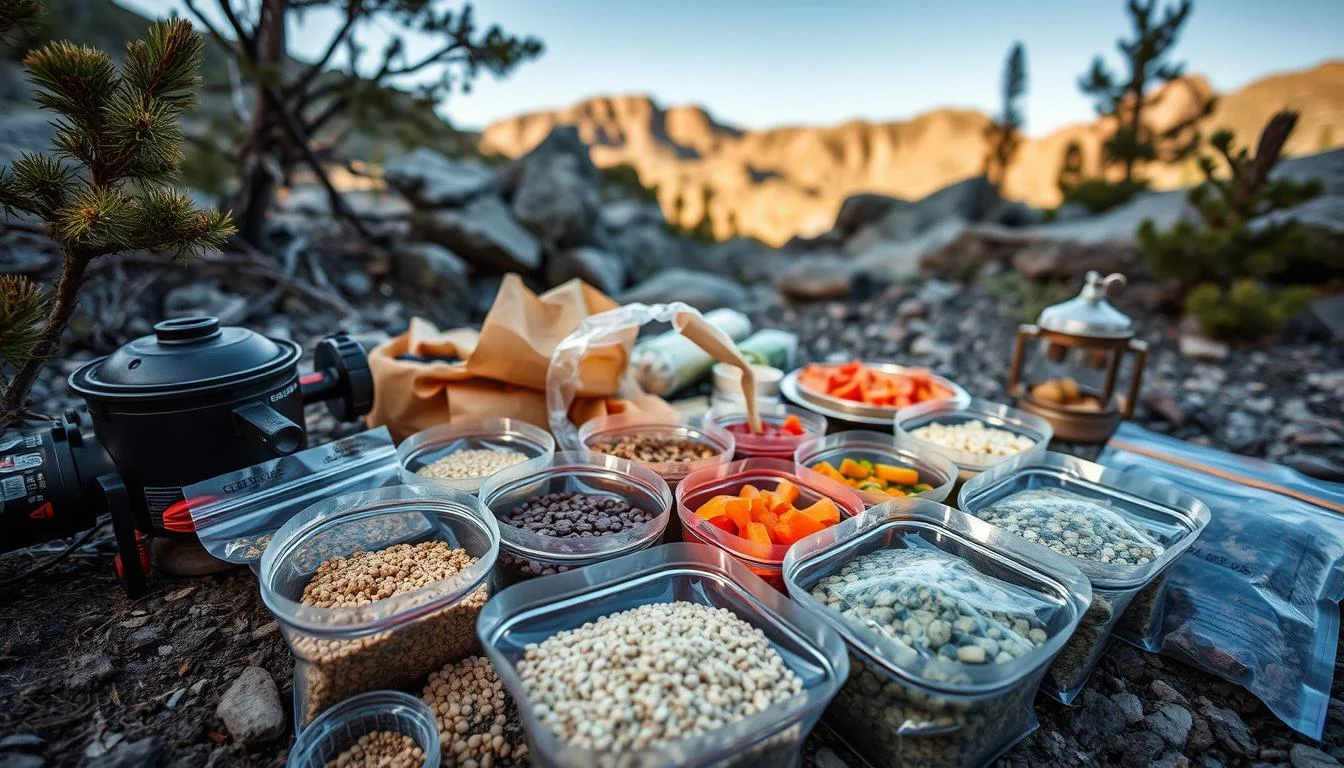
Grains like instant rice and quinoa, and dried beans and lentils are great choices. They are nutrient-dense and can be quickly rehydrated. Use them in dishes like stews or rice bowls.
| Product | Servings | Calories per Serving | Protein per Serving |
|---|---|---|---|
| Peak Refuel Beef Stroganoff | 2 | 400 | 20g |
| Peak Refuel Cheese Chicken Broccoli | 2 | 550 | 26g |
| Packit Gourmet Texas State Fair Chili | 1 | 680 | 39g |
| Backpacker’s Pantry Risotto with Chicken | 2 | 290 | 15g |
By using a mix of dehydrated fruits, vegetables, jerky, dried beans, and instant rice, you can make balanced meals. These meals will fuel your backpacking adventures well.
Foods to Avoid Dehydrating
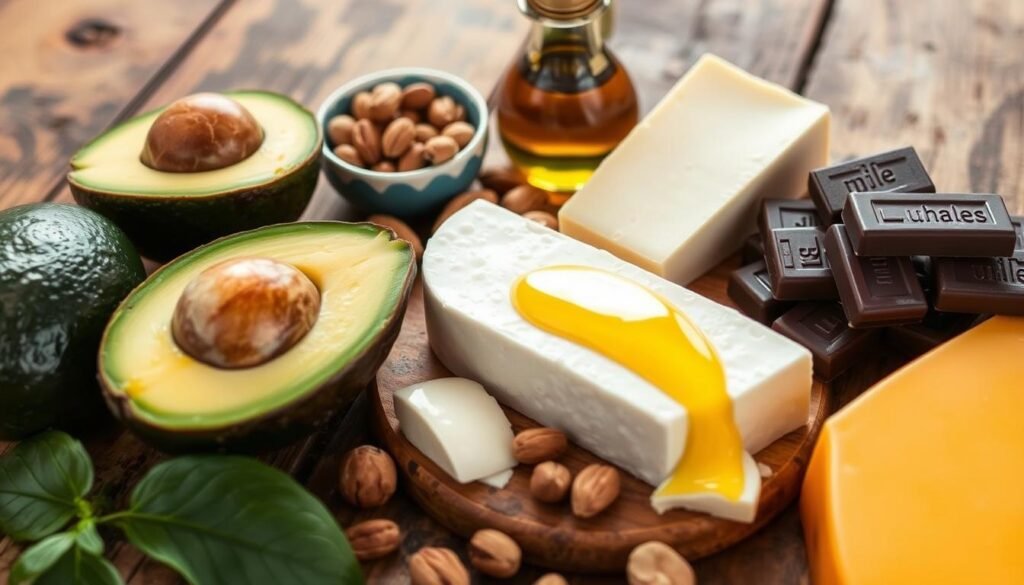
When you’re getting ready for backpacking, pick the right foods to dehydrate. Stay away from nuts, nut butter, avocados, and olives. Their fats don’t dry well and can spoil. Also, skip dairy products and eggs because bacteria can grow at low dehydration temperatures.
Coconut milk is too fatty to dry properly. Go for powdered milk, butter powder, cheese powder, and egg crystals instead. These are made to last and stay safe to eat when dehydrated.
By avoiding these fatty and perishable foods, your backpacking meals will be light and safe. They’ll also be tasty for your outdoor trips.

“Proper food selection and preparation is crucial for a successful and enjoyable backpacking trip. Avoiding dehydration pitfalls ensures your meals remain nutritious and delicious on the trail.”
Preparation Techniques and Tips
Getting your food ready for dehydration is key to making backpacking meals tasty and healthy. Slice or chop your ingredients thinly to increase their surface area. This food prep method is vital for the right texture and taste in your dehydrated meals.
For meats and some veggies, pre-cooking them before dehydration is a good idea. It helps keep flavors in and nutrients preserved. Blanching veggies like broccoli or carrots also helps keep their color and nutrients during dehydration.
- For complete meals, cook the dish well, let it cool, and then spread it thinly on your dehydrator trays. This ensures even drying and a consistent texture in the final product.
- Try to keep the fat content low in your prepared dishes, as high-fat foods can become rancid more quickly during storage.
- Use a kitchen scale to portion out your meals, aiming for 100-150 grams of dehydrated food per serving. Experiment with different ratios of proteins, starches, and vegetables to find the perfect balance for your taste preferences and nutritional needs.
By mastering these slicing techniques and pre-cooking methods, you’ll be well on your way to creating delicious and nutritious dehydrated meals for your next backpacking adventure.
“Dehydrating your own trail food is a game-changer for backpacking. It allows you to tailor your meals to your specific tastes and dietary needs, while also reducing the weight and bulk of your pack.”
Backpacking Recipes and Meal Ideas
It’s key to fuel your backpacking trips with tasty, healthy meals. These meals help keep your energy up and aid in recovery. Whether you’re on a quick weekend hike or a long thru-hike, these ideas will keep you full and energized.
Backpacking Breakfast Options
Begin your day with these simple, tasty breakfast ideas:
- Instant oatmeal with dried fruits and nuts
- Powdered eggs with dehydrated vegetables
- Whole-grain pancakes (made without a frying pan!)
- Savory breakfast porridge with dehydrated meat and spices
Lunch and Dinner Meals
Enjoy hearty backpacking meals with these easy-to-carry options:
- Dehydrated chili with tortilla chips
- Vegetarian paella with freeze-dried veggies
- Lentil soup with instant rice
- Gourmet backcountry mac and cheese
Trail Snacks and Energy Foods
Stay energized with these handy backpacking snacks:
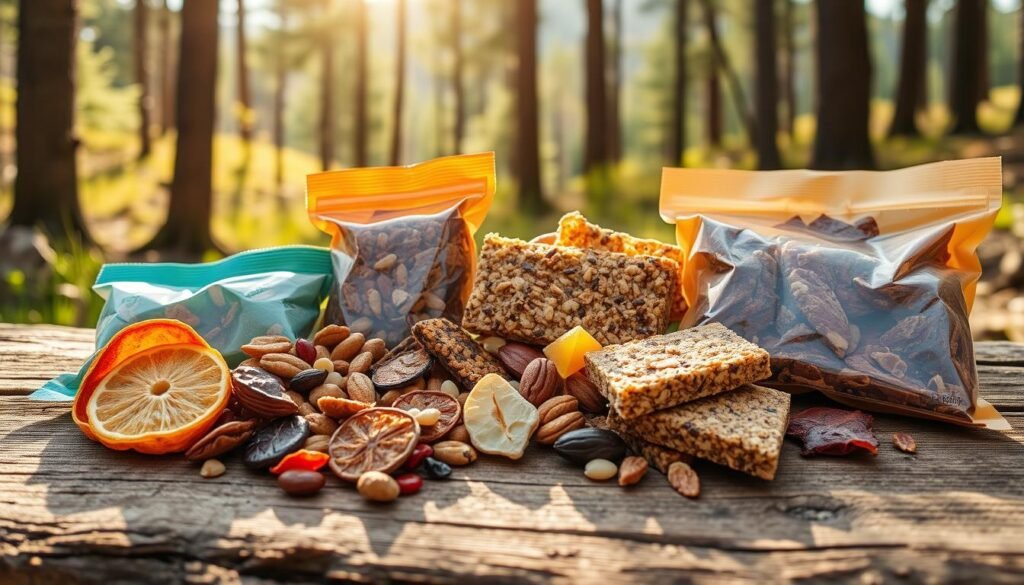
- Homemade dried fruit leather
- Vegetable chips (dehydrated carrots, kale, beets)
- High-protein jerky (beef, turkey, or vegan)
- Energy bars and electrolyte chews
Feel free to add spices, dried herbs, and powdered sauces to boost flavors. Mix shelf-stable items for easy, tasty meals like a trail Thanksgiving dinner. Don’t forget to pack condiments and oil packets for extra flavor and moisture.

Storage and Packaging Methods
Storing your dehydrated backpacking meals requires some thought. For quick use, Ziploc bags work well for up to 2 weeks. But for longer storage, vacuum sealing is best. It keeps your meals fresh for months at room temperature or up to a year in the freezer.
It’s important to label your food properly. Write the recipe name, the date you made it, and how much water it needs. This makes it easy to find and prepare your meal on the trail.
| Storage Method | Shelf Life | Ideal For |
|---|---|---|
| Ziploc Bags | Up to 2 weeks | Short-term storage |
| Vacuum Sealing | Months at room temp, up to 1 year frozen | Long-term food storage |
For meals with sharp items like dried fruits or nuts, use parchment paper inside the vacuum bag. This stops the bag from getting punctured and keeps air out.
Eco-friendly hikers might look into compostable bags for storing food. This is a greener way to store food for long-term food storage on the trail.
“Proper storage and packaging are essential for ensuring the longevity and quality of your dehydrated backpacking meals. Invest in the right methods to keep your food fresh and ready for your next adventure.”
Rehydrating Your Meals on the Trail
Getting your dehydrated meals ready for backcountry cooking is just the start. The real challenge is making sure they’re fully rehydrated on the trail. With a few simple steps, you can make sure your meals are ready to go, whether you’re hiking all day or enjoying a camp dinner.
To rehydrate your meals, start by adding boiling water. Use about 1 cup of water for every 1 cup of dehydrated food. But, you might need to adjust this based on the recipe and your taste. If your meal feels too thick, just add a bit more water.
After adding water, stir well and let it sit for 10-20 minutes, stirring now and then. This lets the food soak up the water and get the right consistency. To speed up rehydration, break up any big pieces of food before adding water.
| Meal Type | Rehydration Time |
|---|---|
| Dehydrated Meals | 15-25 minutes |
| Breakfast Noodles with Vegetables | 4-8 minutes |
| Minute Instant White Rice | 10 minutes |
| Regular Couscous | No boiling required |
For some meals, you can rehydrate them right in their vacuum-sealed bags. This saves you from washing extra dishes. Just make sure to follow the meal’s instructions and adjust the water as needed.
The secret to great rehydration is having boiling water ready and giving your meals enough time to soak. With a bit of practice, you’ll be making tasty backcountry meals in no time!
“Rehydrating your meals on the trail is an essential skill for any backpacking enthusiast. With the right techniques, you can turn a simple dehydrated meal into a satisfying and nourishing backcountry feast.”
Conclusion
Dehydrating your own backpacking food is rewarding and saves money. It’s a great way to prepare for outdoor adventures. You can make lightweight, nutritious, and tasty meals for the trail.
When planning your backpacking menu, aim for a balance of foods. Include quick sugars, carbs, proteins, and high-fat, high-protein foods. This will keep your body fueled all day. Try out different recipes and ingredients to find your favorites. Always remember to keep food safe during preparation and storage.
Joining a membership program like Live Ultralight can help you save more. It makes it easier to get premium backpacking food. With the right approach, you can make your outdoor meals better, more customized, and affordable.
FAQ
What are the benefits of dehydrating your own food for backpacking?
What essential equipment is required for dehydrating food?
What are the best foods to dehydrate for backpacking?
What types of foods should be avoided when dehydrating?
How should food be prepared for dehydrating?
What are some popular backpacking meal ideas using dehydrated foods?
How should dehydrated foods be stored and rehydrated?
Leave a Comment & Rate this Recipe!
If you love this recipe, please consider giving it a star rating when you leave a comment. Star ratings help people discover my recipes online. Your support means a lot to me, I appreciate you.
There are no reviews yet. Be the first one to write one.


