Tips for Making Delicious Cheesy Beef Quesadillas at Home
As a busy parent, finding quick, tasty meals for the family can be tough. But, homemade quesadillas have changed the game for us. The mix of tender beef, gooey cheese, and crispy tortillas is a treat that reminds me of my favorite Tex-Mex spots.
In this guide, you’ll learn the secrets to making amazing quesadillas. Whether you’re an experienced cook or just starting out, you can make homemade quesadillas, beef quesadilla recipe, and easy Mexican food at home.
Table of Contents
Understanding the Perfect Quesadilla Components
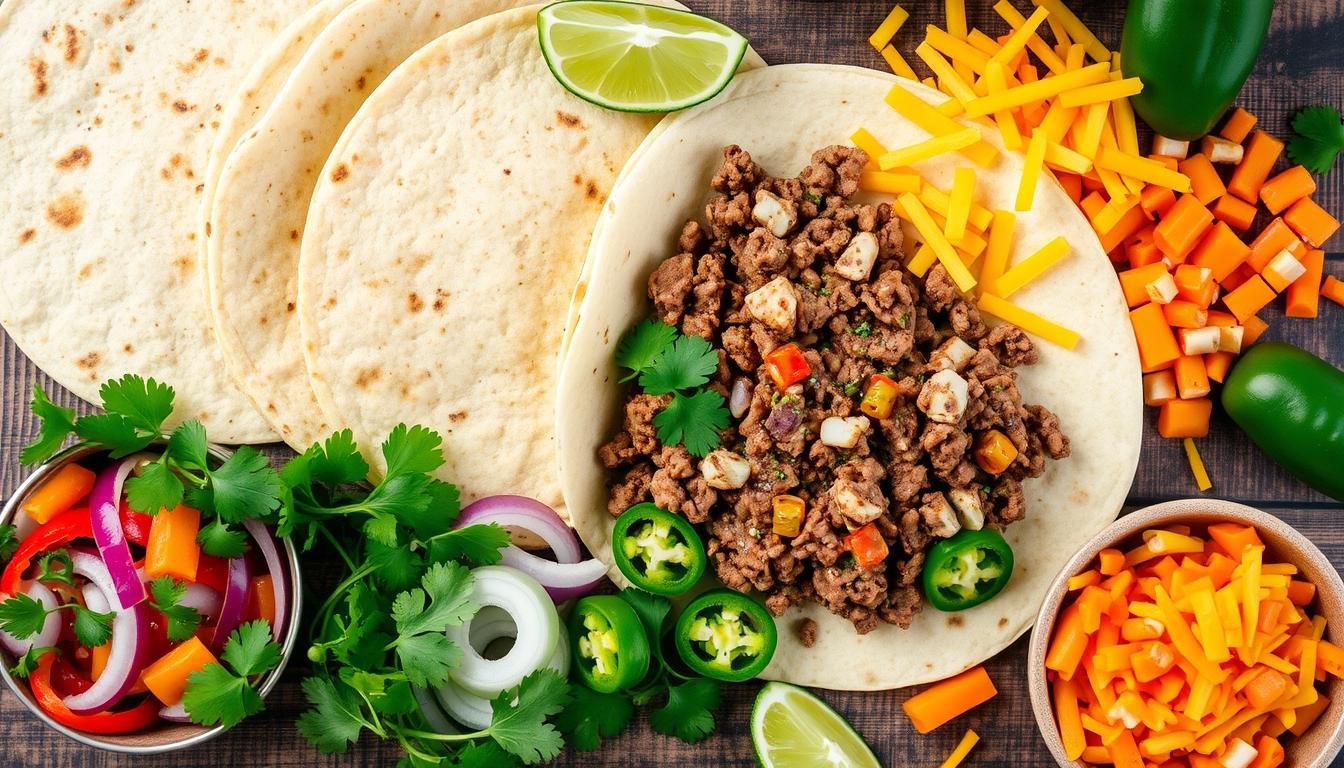
Making delicious quesadillas at home starts with picking the right ingredients. You need the perfect tortilla, melting cheese, and top-notch ground beef. Each part is key to a cheesy, tasty quesadilla.
Quality Tortilla Selection
The base of a great quesadilla is the tortilla. Choose large, soft flour tortillas that can hold lots of filling. They should be easy to fold for a smooth assembly.
Best Cheese Varieties for Melting
The cheese makes the quesadilla special. Go for Chihuahua cheese, Monterey Jack, or a Mexican blend. These cheeses melt well, giving you that gooey texture everyone loves.
Premium Beef Choices
The beef filling adds flavor to your quesadillas. Use lean ground beef, like 80/20, for a healthier, tastier option. Try different meats, like turkey or chicken, to find your favorite.
By picking the best tortillas, cheese, and beef, you can make quesadillas that rival those from restaurants. Enjoy making them in your own kitchen.
Essential Ingredients and Kitchen Tools
Making delicious quesadillas at home needs a few important ingredients and tools. You’ll need lean ground beef, tomato paste, and spices like chili powder and cumin. Don’t forget shredded cheese and fresh tortillas to complete your quesadilla.
For cooking, a large skillet or electric griddle is key. You’ll also need a strong spatula for flipping and a cheese grater for shredding. A wire rack helps keep your quesadillas warm and crispy.
If you like making dips and sauces, a food processor is a must-have. It lets you make creamy guacamole and zesty salsa to go with your cheesy beef quesadillas.
| Quesadilla Tools | Kitchen Essentials | Cooking Equipment |
|---|---|---|
| Cheese grater | Ground beef | Large skillet or griddle |
| Spatula | Tomato paste | Spatula |
| Wire rack | Spices (chili powder, cumin, garlic powder, onion powder) | Wire rack |
| Food processor (optional) | Shredded cheese | Food processor (optional) |
| Tortillas |
With these quesadilla tools, kitchen essentials, and cooking equipment, you’re ready to make amazing cheesy beef quesadillas at home.
Preparing the Signature Cheesy Beef Quesadillas
Improving your homemade quesadillas starts with the prep work. The secret to great beef seasoning, layered cheese, and quesadilla assembly lies in the details. Let’s look at the key steps to make your cheesy beef quesadillas stand out.
Seasoning the Ground Beef
Start by browning the ground beef in a skillet over medium-high heat. Once it’s fully cooked, add taco seasoning or your favorite spices. Use chili powder, cumin, garlic powder, salt, and pepper. Let the flavors mix for 5-8 minutes.
Proper Cheese Layering Technique
To get the perfect cheese pull, layer the cheese right. Place a tortilla in your skillet or on a baking sheet. Add a lot of shredded cheese, like cheddar, Monterey Jack, and Colby. Then, add the seasoned beef and more cheese. Finish with another tortilla on top.
Assembly Methods
- Fold the quesadilla in half for a classic crescent shape, or leave it open-faced for a more visually appealing presentation.
- Use a spatula to press down on the quesadilla, ensuring even cooking and optimal cheese melting.
- For a crispy exterior, brush the top tortilla with melted butter or cooking oil before cooking.
With the beef seasoned, cheese layered, and quesadilla assembled, you’re ready to cook. You’ll get restaurant-quality results in your kitchen.
Mastering the Cooking Temperature and Timing
Preparing delicious and crispy quesadillas at home requires attention to cooking temperature and timing. Cook your quesadillas over medium to medium-high heat. This will take about 2-3 minutes per side to get that perfect golden-brown and crispy texture.
To keep your quesadillas warm and crisp, place them in a preheated 200°F oven on a wire rack. This method helps maintain the ideal temperature and crispiness. It ensures each quesadilla is served hot and fresh.
It takes about 15 minutes to cook a batch of quesadillas. This allows you to quickly make a meal that everyone will love. By mastering the right cooking temperature and timing, you’ll make quesadillas that look great and taste amazing.
| Ingredient | Ratio | Calorie Count | Rating |
|---|---|---|---|
| Cheese | 1:3 (tortilla to cheese) | 262 kcal per quesadilla | 4.80 out of 5 (10 ratings) |
The secret to crispy quesadillas is the perfect balance of temperature and timing. By following these tips, you’ll be able to make restaurant-quality quesadillas right in your kitchen.
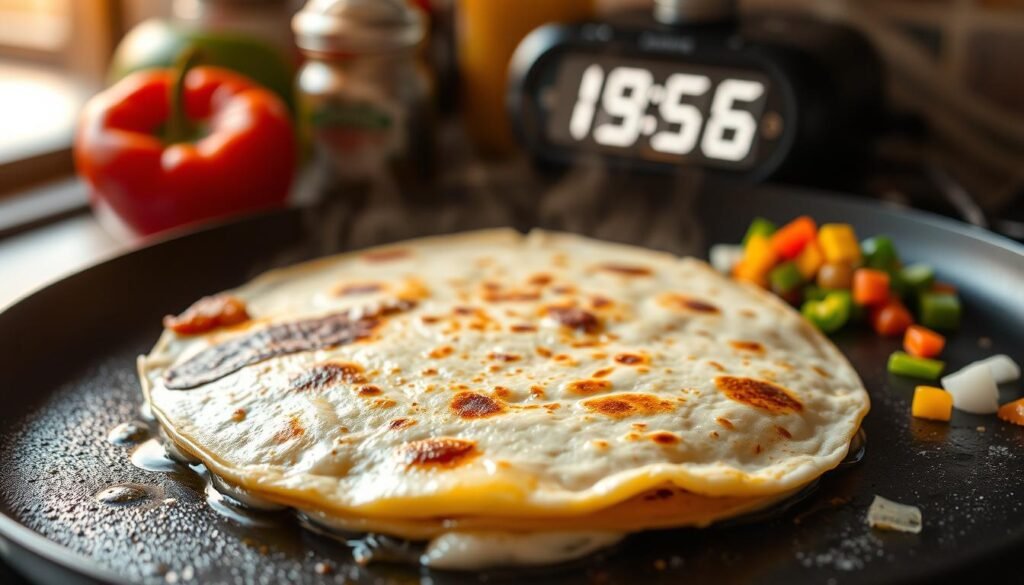
“The key to making the perfect quesadilla is all about mastering the cooking temperature and timing. Get it right, and you’ll be rewarded with a crispy, golden-brown exterior and a melty, cheesy interior that’s simply irresistible.”
Secret Tips for Creating Restaurant-Style Crispiness
Getting your homemade crispy quesadillas to have that golden-brown look is key. It’s all about the cooking fat and techniques you use.
Butter vs Oil Methods
For a richer taste and a golden crust, use melted butter. The milk solids in butter make the surface caramelized. On the other hand, vegetable oil makes the quesadillas even crisper, just like in restaurants.
Achieving the Golden Brown Exterior
To get that crispy edge, spread the cheese to the tortilla’s edge. Use a spatula to press down gently as it cooks. This creates crispy cheese bits around the sides.
Let the beef filling cool a bit before adding it. This prevents the tortilla from getting soggy. Cook the quesadillas over medium-high heat for a golden-brown outside and a gooey inside.
| Cooking Fat | Texture | Flavor |
|---|---|---|
| Butter | Crispy | Rich, Indulgent |
| Vegetable Oil | Extra Crispy | Light, Neutral |
“The secret to the perfect crispy quesadillas lies in the details. Paying attention to the cooking fat, cheese layering, and heat control will result in a restaurant-worthy dish every time.”
Creative Filling Combinations and Add-ins
Make your homemade quesadillas more exciting by trying new fillings. Start by cooking onions, bell peppers, corn, or spinach. They add a nice crunch and sweetness. For a spicy touch, add diced jalapeños or green chiles.
Don’t be shy with cheese. Cheddar, pepper jack, and Mexican blend melt well, making the center gooey. You can also use leftover meats like shredded chicken or steak. This makes your quesadilla more filling and protein-rich.
| Quesadilla Variations | Vegetable Add-ins | Flavor Combinations |
|---|---|---|
| Chicken, Steak, Pork | Onions, Bell Peppers, Corn, Spinach | Cheddar, Pepper Jack, Mexican Blend |
| Black Beans, Refried Beans | Jalapeños, Green Chiles | Spicy, Savory, Smoky |
| Mushrooms, Tomatoes | Zucchini, Squash | Tangy, Creamy, Herbal |
There are countless ways to make tasty quesadillas at home. Try different fillings, veggies, and flavors to create your ultimate cheesy beef quesadilla.
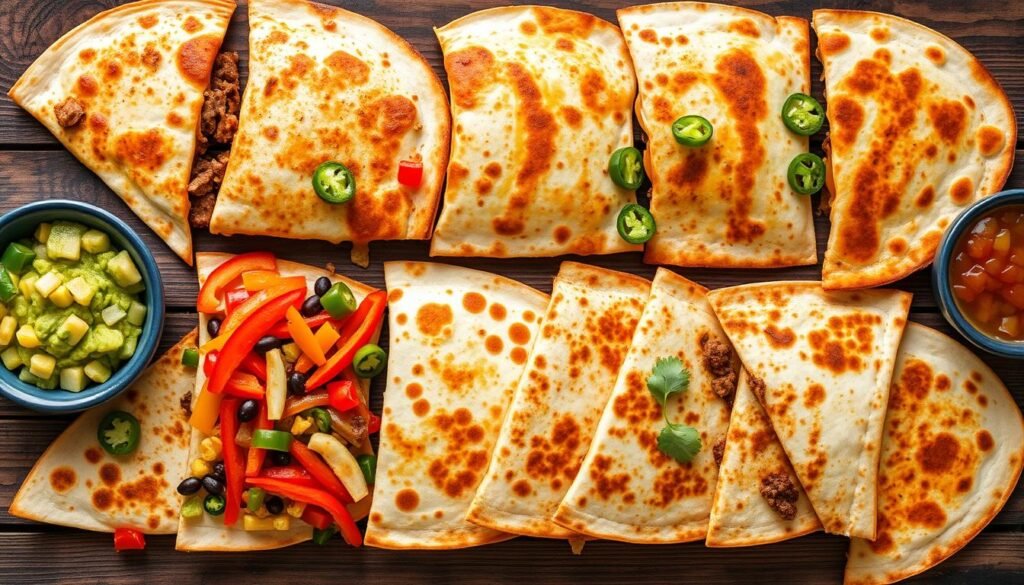
“The secret to a great quesadilla is all in the filling. Get creative and you’ll be rewarded with a truly crave-worthy dish.”
Professional Cutting and Serving Techniques
Make your homemade quesadillas even better with these expert tips. Use a sharp knife or pizza cutter for clean cuts. Cut each quesadilla into smaller triangles for appetizer-sized portions.
Arrange the slices on a large platter or serving board. This makes for an impressive family-style presentation.
Presentation Tips
Top your quesadillas with fresh cilantro, hot sauce, and sour cream. Add lime wedges on the side for a citrusy flavor. This simple touch makes your quesadillas look and taste amazing.
Portioning Guidelines
- One full-sized quesadilla serves 1-2 people as a main course.
- For appetizers, cut each quesadilla into 4-6 triangles.
- Adjust the number of quesadillas based on your serving size and guests.
Follow these tips for a stunning quesadilla presentation. Your family and friends will love the crispy, melted cheese and flavorful fillings in every bite.
Must-Try Dipping Sauces and Toppings
Take your homemade quesadilla toppings to the next level. Add a variety of tasty dipping sauces and toppings. These will match the savory cheese and tender beef perfectly.
Try a creamy chipotle lime mayo for a zesty kick. Mix mayonnaise, sour cream, pickled jalapeños, lime juice, and chipotle paste. It’s a rich sauce you’ll want more of. Also, a fresh avocado dip or cool tomato salsa is a hit.
- Chipotle Lime Mayo
- Homemade Guacamole
- Fresh Tomato Salsa
- Creamy Sour Cream Sauce
- Pickled Red Onions
- Sliced Jalapeños
- Shredded Lettuce
If you like it hot, offer hot sauces to add more heat. You can choose from many options. Let your taste guide you to the best quesadilla toppings mix.
“The secret to a truly outstanding quesadilla lies in the details – the perfect blend of cheeses, the seasoning of the beef, and the array of flavorful toppings and dips.”
Storage and Reheating Methods
Leftover cheesy beef quesadillas can be a delightful treat. It’s important to store and reheat them right to keep their crispiness and flavor. These reheating tips will help your leftover quesadillas taste as fresh as the day you made them.
Refrigerator Storage
For short-term storage, put your leftover quesadillas in an airtight container. Refrigerate for up to 3 days. To reheat, use a skillet with a bit of oil over medium heat for 1-2 minutes per side. This will melt the cheese and crisp the tortilla.
Freezer-Friendly Meals
To meal prep and freeze your quesadillas, assemble them without cooking. Wrap them individually and freeze. These freezer-friendly meals can last up to 2 months. To reheat, thaw in the microwave for 30-40 seconds before cooking as usual.
Reheating Methods
- Oven: Preheat your oven to 350°F. Place the quesadillas on a baking sheet and reheat for 10 minutes for refrigerated or 15 minutes for frozen, until heated through and crispy.
- Air Fryer: Preheat your air fryer to 350°F and reheat the quesadillas for 3-5 minutes, flipping halfway, until hot and crispy.
- Stovetop: Heat a skillet over medium heat and warm the quesadillas for 1-2 minutes per side, adding a touch of oil or butter to the pan for extra crispiness.
- Microwave: For a quick reheat, place the quesadillas on a microwave-safe plate and heat in 30-second intervals until warmed through, being mindful not to overcook.
Choose any method you like, but don’t forget to add shredded cheese on top. This will give you an extra layer of melty goodness. With these reheating tips, your leftover quesadillas will taste as delicious as the day you made them.
Conclusion
Cheesy beef quesadillas are a great choice for quick meals or casual gatherings. They’re easy to make and can be customized in many ways. You can try different fillings and cheeses to find your favorite.
Quesadilla night is perfect for families looking for tasty meals. You can make delicious quesadillas at home with the right ingredients. Follow the steps in this article to make quesadillas that taste like they’re from a Mexican restaurant.
With a bit of practice, you’ll make amazing cheesy beef quesadillas. This dish is very versatile, so feel free to add your own twist. Enjoy making and eating these tasty Mexican favorites.
FAQ
What are the key ingredients needed to make restaurant-quality cheesy beef quesadillas at home?
What are the essential kitchen tools required for making quesadillas?
How do you properly assemble and cook the cheesy beef quesadillas?
What are some tips for achieving a crispy, restaurant-style quesadilla exterior?
What are some creative filling combinations and add-ins to customize the quesadillas?
How should the cheesy beef quesadillas be served and presented?
How can leftover quesadillas be stored and reheated?
Leave a Comment & Rate this Recipe!
If you love this recipe, please consider giving it a star rating when you leave a comment. Star ratings help people discover my recipes online. Your support means a lot to me, I appreciate you.
There are no reviews yet. Be the first one to write one.

