How to make cream cheese puff pastry treats in minutes
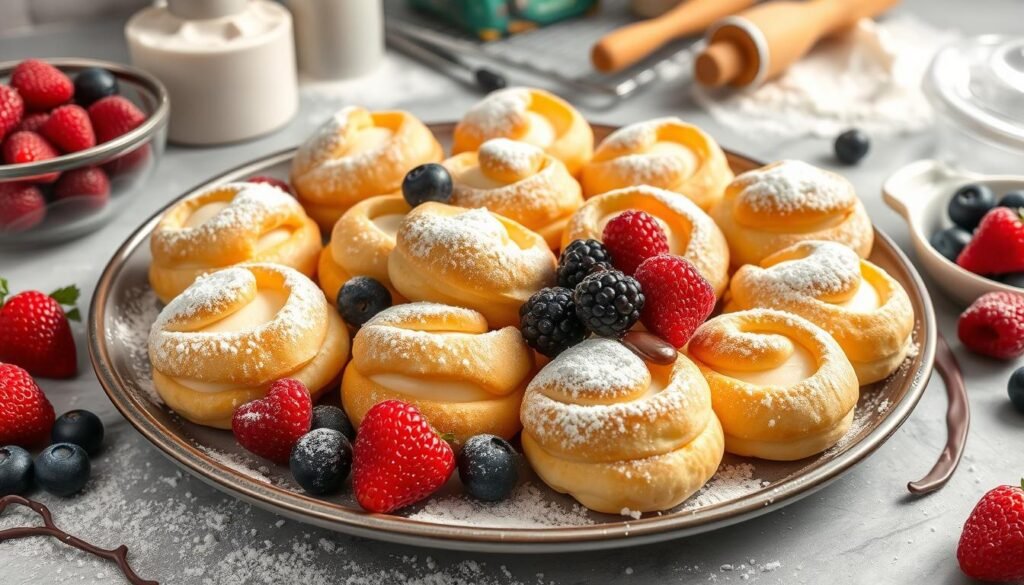
These cream cheese puff pastry treats are quick to make and bake. They look impressive in under 30 minutes. You’ll need frozen puff pastry dough, cream cheese, sugar, and optional flavorings like vanilla or almond extract.
They’re great for breakfast, dessert, or snacks. You can add different fruits or enjoy them with just cheese.
Table of Contents
Essential Ingredients for Perfect Puff Pastry Treats
Creating delicious cream cheese puff pastry treats begins with quality ingredients. Frozen puff pastry is essential, and you can find it in most stores. Brands like Pepperidge Farm and Trader Joe’s are reliable choices.
Choosing the Right Puff Pastry
Choose full-fat or reduced-fat cream cheese for your fillings. Avoid fat-free options. The higher fat content makes your fillings rich and creamy.
Cream Cheese Selection Tips
To sweeten your filling, add 2-4 tablespoons of sugar. A 1/2 teaspoon of vanilla extract also adds a lovely aroma.
Optional Flavoring Components
- Almond extract for a nutty twist
- Lemon zest for a bright, citrusy flavor
- Fruit preserves or jams for a fruity twist
By picking the right puff pastry, cream cheese, and flavorings, you’ll make treats that are irresistible. They will surely delight your taste buds.
Kitchen Tools and Equipment Required
To make delicious cream cheese puff pastry treats, you need some key baking essentials and pastry tools. A sturdy baking sheet lined with parchment paper is essential. It makes it easy to remove and clean up your pastries after baking.
A large, heavy rolling pin is important for smoothing and shaping the dough. A sharp paring knife is great for cutting the dough into shapes. Don’t forget a pastry brush for an even egg wash, giving your pastries a golden-brown look.
For mixing the cream cheese filling, use a mixing bowl and an electric mixer or hand mixer. This ensures the filling is smooth. A cooling rack is also crucial for cooling your pastries completely before serving or decorating.
With these baking essentials, pastry tools, and kitchen gadgets, you’re ready to make tasty cream cheese puff pastry treats at home.
| Essential Tools | Purpose |
|---|---|
| Baking Sheet | Baking the pastries |
| Parchment Paper | Lining the baking sheet for easy removal |
| Mixing Bowl | Preparing the cream cheese filling |
| Electric Mixer | Mixing the cream cheese filling |
| Rolling Pin | Shaping the puff pastry dough |
| Paring Knife | Trimming and cutting the puff pastry |
| Pastry Brush | Applying the egg wash |
| Cooling Rack | Allowing the baked pastries to cool |
“With the right baking essentials, pastry tools, and kitchen gadgets, you can transform simple ingredients into delightful cream cheese puff pastry treats that will impress your guests.”
Preparing Your Cream Cheese Puff Pastry Filling
Making the perfect cream cheese filling is key for your puff pastry treats. Start by softening the cream cheese to room temperature. This makes it smooth and creamy.
Once it’s soft, mix it with sugar, vanilla extract, and a room-temperature egg yolk. Keep mixing until it’s light and fluffy.
Adding Flavors and Extracts
To make your filling even better, add some extra flavors. A bit of almond extract or lemon zest can really enhance the taste. Mix these ingredients well into the cream cheese.
Achieving the Perfect Consistency
The right consistency is important for your puff pastry. Make sure to mix everything well, but don’t overdo it. You want it thick and creamy, not runny.
| Ingredient | Quantity |
|---|---|
| Cream Cheese, softened | 8 ounces |
| Granulated Sugar | 3 tablespoons |
| Vanilla Extract | 1/4 teaspoon |
| Egg Yolk, at room temperature | 1 |
By following these steps, you’ll make a cream cheese filling that’s perfect for your puff pastry. It will be creamy and full of flavor.
Step-by-Step Pastry Assembly Guide
Making delicious cream cheese puff pastry treats is easy and rewarding. Start by thawing your puff pastry in the fridge overnight. Then, unfold it on a floured surface and roll it out to remove creases.
Use a sharp knife to cut the pastry into shapes like rectangles or squares. Lightly score the edges to make a well for the cream cheese. Fill each pastry with the cream cheese mixture, leaving some space around the edges.
- Brush the pastry edges with a thin layer of egg wash to help the layers stick together during baking.
- Sprinkle the tops with coarse sugar for a nice touch.
The last step is to place the filled pastries on a parchment-lined baking sheet. Make sure they’re not touching to allow for even baking.
“The key to flawless Danish pastry technique is in the details – from perfectly thawed puff pastry to a beautifully piped cream cheese filling.”
Creative Filling Variations and Combinations
Explore a world of creative fillings for your puff pastry treats. Whether you prefer sweet or savory, there’s endless possibility. Try different fillings to discover new favorite flavors.
Fruit and Berry Options
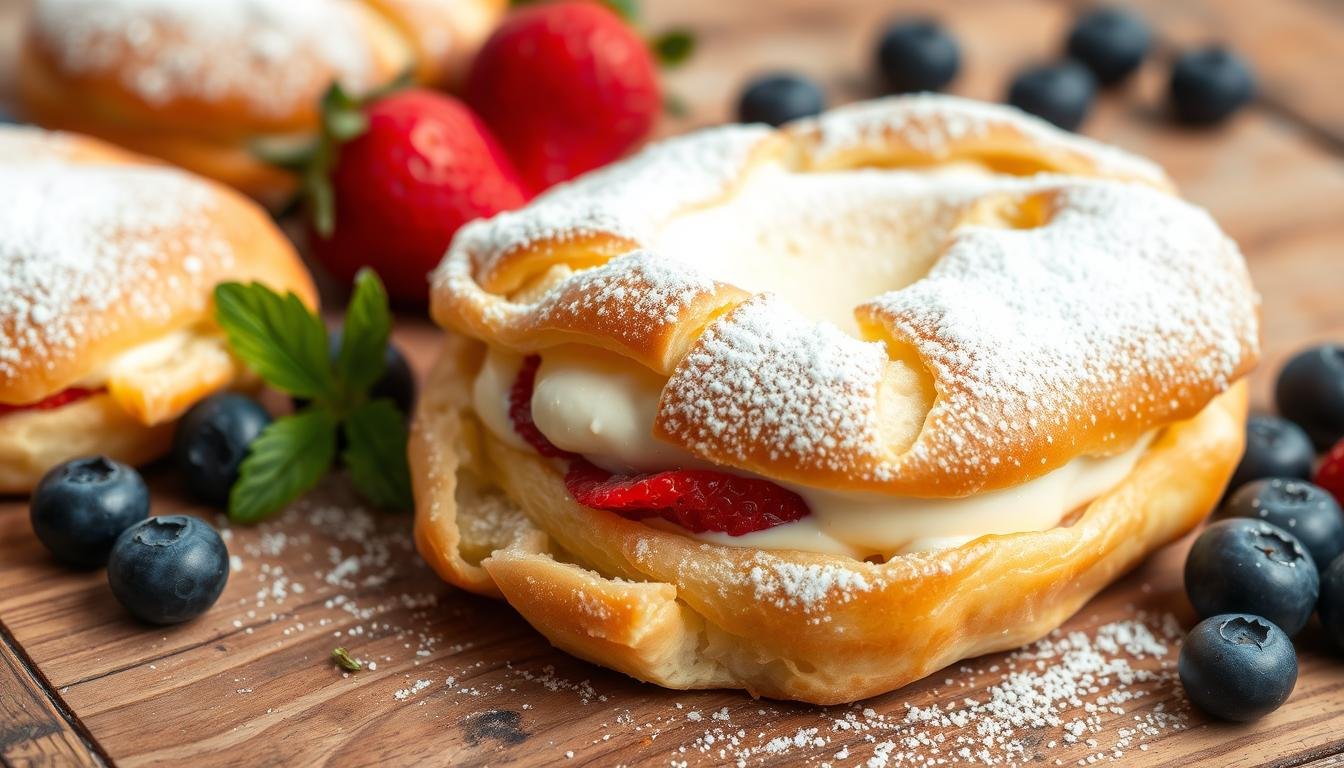
Add fresh flavor to your puff pastry with fruit and berry fillings. Try tangy blueberry, tart raspberry, or juicy strawberry jam for a classic fruit Danish. For a seasonal twist, mix in apple, pear, or mixed berry preserves.
Sweet and Savory Alternatives
Enjoy both sweet and savory flavors with creative pastry fillings. Indulge in chocolate-hazelnut Nutella or creamy lemon curd for a decadent treat. For savory, try tangy cheese, salty ham, or savory pesto.
Seasonal Flavor Combinations
Celebrate the flavors of the season with your puff pastry creations. Embrace fall with an apple-cinnamon filling, or welcome summer with a vibrant mixed berry compote. For winter, try a warm pumpkin or cranberry filling. In spring, showcase fresh lemon or rhubarb.
“The best part about puff pastry is its versatility. You can really let your creativity shine by experimenting with different fillings and flavor combinations.”
| Filling | Occasion | Preparation Time | Serving Size |
|---|---|---|---|
| Raspberry Jam | Brunch, Dessert | 30 minutes | 12 servings |
| Nutella and Banana | Breakfast, Snack | 25 minutes | 8 servings |
| Spinach and Feta | Appetizer, Lunch | 40 minutes | 16 servings |
| Apple-Cinnamon | Dessert, Holiday | 35 minutes | 10 servings |
Baking Tips and Temperature Guidelines
Making the perfect cream cheese puff pastry treats needs careful baking. You want them to puff up and turn golden brown. Here are the key tips and temperature guidelines to get bakery-quality results at home.
First, heat your oven to a warm 400°F (200°C). This temperature is perfect. It lets the pastry puff up and the cream cheese filling cook right. Bake for 14-18 minutes, watching closely to avoid over-browning.
Once baked, let the pastries cool a bit on a wire rack. This step helps them set, making the outside flaky and the inside soft. Remember, baking time might change if your pastries are bigger or smaller than the recipe.
- Preheat oven to 400°F (200°C) for optimal puff pastry baking results.
- Bake the pastries for 14-18 minutes, monitoring closely for perfect pastry browning.
- Allow the pastries to cool slightly on a wire rack for the best texture and appearance.
- Adjust baking time as needed for different-sized puff pastry creations.
By following these easy tips and temperature guidelines, you’ll make amazing cream cheese puff pastry treats. They’ll impress your family and friends. Happy baking!

Glazing and Decorating Techniques
Take your cream cheese puff pastry treats to the next level with a delicious lemon glaze and some creative decorations. A lemon glaze can make your pastries look like they came from a bakery.
Making the Perfect Lemon Glaze
To make a tasty lemon glaze, mix powdered sugar with fresh lemon juice until it’s smooth. Start with 1/2 cup of powdered sugar and 1 1/2 teaspoons of lemon juice. Adjust the mix by adding more sugar to thicken or lemon juice to thin it out.
After your pastries cool, drizzle the lemon glaze over them. Let it flow down the sides. The glaze’s tangy sweetness will match the cream cheese filling and flaky pastry perfectly.
Presentation Tips and Tricks
- Put the glazed pastries on a fancy serving platter or board.
- Add fresh berries, a mint sprig, or powdered sugar for a nice look.
- For a fancy touch, pipe the lemon glaze in a design on top of the pastries.
With a few easy steps, your homemade cream cheese puff pastry treats will look like they’re from a bakery. The lemon glaze and careful presentation will impress your guests.
Storage and Make-Ahead Instructions
Enjoying your pastry treats doesn’t have to end. You can keep enjoying them for days with the right storage and make-ahead tips. This way, you can relish the flavors of your cream cheese puff pastry creations for longer.
Refrigerator Storage
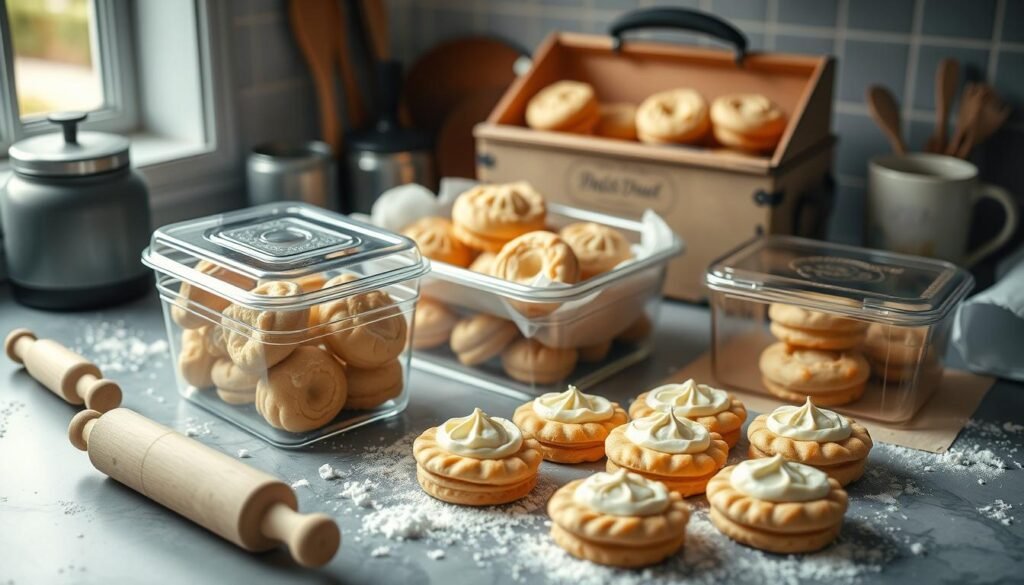
For leftover pastries, store them in an airtight container in the fridge for up to 4 days. This keeps their flaky texture and prevents drying out.
Freezing for Later
Want to prep ahead? Assemble the unbaked treats and freeze them for later. Place the uncooked pastries on a baking sheet, freeze until firm, then store in an airtight container or bag. Bake frozen pastries at 400°F for 25-30 minutes until golden and delicious.
Reheating Tips
For the best texture, reheat pastries in a toaster oven or air fryer at 300°F for 5-10 minutes. This restores the crisp crust and warms the filling gently.
“These pastry storage tips are a game-changer! I can now enjoy my make-ahead Danish whenever the craving strikes, without having to start from scratch each time.” – Sarah, Satisfied Baker
Follow these simple storage and make-ahead tips to enjoy your cream cheese puff pastry creations for days. Whether reheating or enjoying straight from the fridge, these treats will always delight your taste buds.

Conclusion
Cream cheese puff pastry treats are a tasty, impressive, and flexible choice for easy Danish recipe, homemade pastries, and quick breakfast treats. They require little effort and time to make. You can easily create bakery-quality pastries at home.
Try different fillings and flavors to find your favorite. Enjoy the joy of making homemade Danish pastries whenever you want.
These treats are perfect for impressing your friends and family. They’re quick and easy to make, taking just 35 minutes. The result is flaky, buttery pastry filled with creamy cheese.
They’re great for brunch, a delightful breakfast, or a sweet treat. So, why not try them today? Enjoy the homemade goodness in every bite.
FAQ
What are the key ingredients for making cream cheese puff pastry treats?
Where can I find the best puff pastry and cream cheese options?
What kitchen tools and equipment are needed to make these pastry treats?
How do I prepare the cream cheese filling?
Can I experiment with different fillings and flavors?
How do I assemble and bake the pastry treats?
How can I customize the presentation and finish of the pastries?
How do I store and reheat the leftover pastries?
Leave a Comment & Rate this Recipe!
If you love this recipe, please consider giving it a star rating when you leave a comment. Star ratings help people discover my recipes online. Your support means a lot to me, I appreciate you.
There are no reviews yet. Be the first one to write one.


