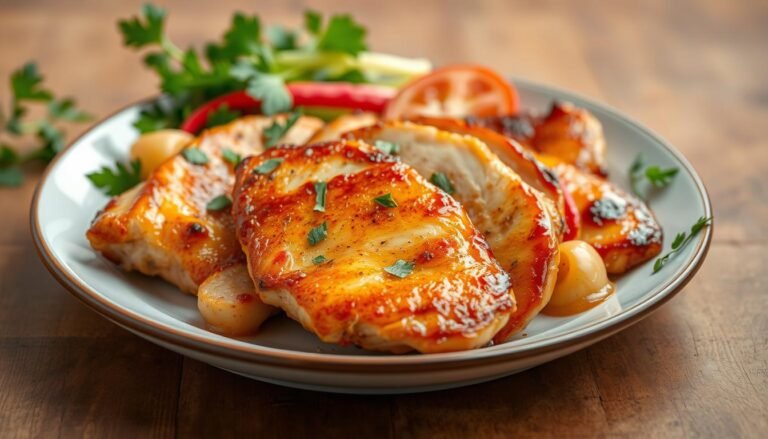
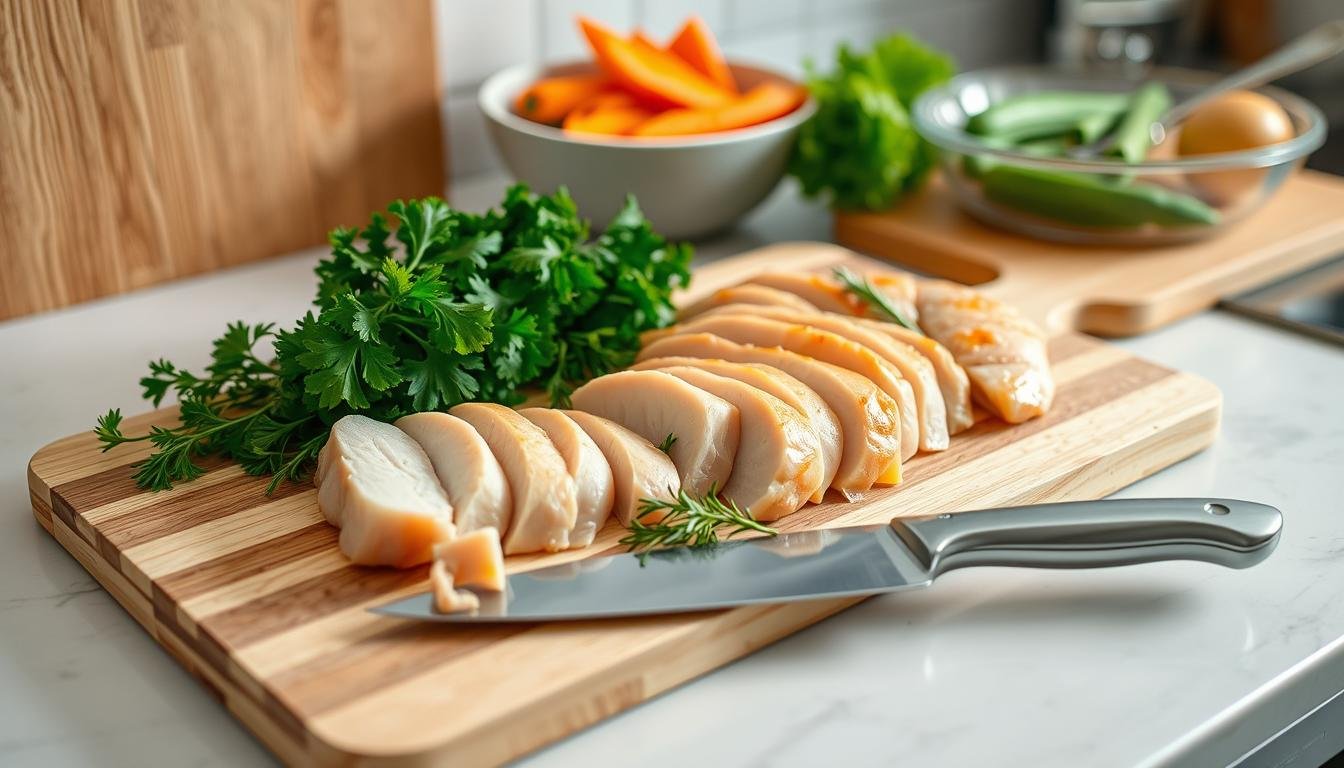
Quick & Juicy sliced chicken breast on the Stove
Every home cook knows the magic of a perfectly sliced chicken breast. It turns a simple meal into something special. I remember watching my grandmother slice chicken with ease. It sparked my love for making delicious thin-sliced chicken breast recipes.
Thin-sliced chicken breast is more than a cooking method. It’s a canvas for culinary creativity. Whether you’re making quick dinners or party appetizers, mastering sliced chicken opens up new flavors.
This guide will teach you how to make restaurant-quality sliced chicken at home. You’ll learn about choosing the right cuts and perfecting your slicing. You’ll become more confident in your cooking.
Key Takeaways
- Thin-sliced chicken breast cooks faster and absorbs flavors more effectively
- Proper slicing techniques can transform your home cooking
- Multiple cooking methods work perfectly with sliced chicken breast
- Versatile ingredient for numerous chicken breast recipes
- Easy to prepare and customize for various dietary preferences
Understanding Thin-Sliced vs Regular Chicken Breast
Chicken is a key protein in American kitchens. Knowing the difference between thin-sliced chicken breast and regular chicken breast can change your cooking. Thin-sliced chicken breast, also known as chicken breast cutlets, has special benefits.
Benefits of Thin-Sliced Chicken
Thin-sliced chicken breasts have many great points for your kitchen. They are about half an inch thick. This makes them cook faster and more evenly.
- Faster cooking times (6-8 minutes per side)
- More uniform heat distribution
- Reduced risk of uneven cooking
- Enhanced flavor absorption
Portion Control and Cooking Efficiency
Chicken cutlets are great for controlling portions. A 4-ounce serving has about 120 calories and 26 grams of protein. Their thin shape makes them quick to prepare, ideal for fast weeknight meals.
“Thin-sliced chicken breasts can revolutionize your meal preparation, reducing cooking time without compromising taste or nutrition.”
Flavor Absorption Advantages
Regular chicken breasts sometimes have trouble with flavor. Thin-sliced chicken breast, however, soaks up marinades significantly faster. This means your dishes will taste more intense and evenly flavored. Chefs suggest slicing horizontally and pounding to get the best thickness for flavor.
Whether you’re making a quick stir-fry, grilled sandwich, or chicken piccata, knowing about thin-sliced chicken breast can improve your cooking.
Essential Tools and Equipment for Slicing Chicken Breast
To slice chicken breast perfectly, you need the right tools. Both professional chefs and home cooks agree. The right kitchen knives can greatly improve your cooking.
Here are the must-have tools for slicing chicken:
- Sharp chef’s knife (7-15 inches long)
- Plastic cutting board
- Meat tenderizer
- Kitchen shears
- Meat thermometer
“A sharp knife is the most important tool in any kitchen” – Professional Chef’s Wisdom
When picking knives for chicken, look for sharpness and quality. A sharp chef’s knife makes clean cuts without tearing the meat. Dull knives can damage chicken’s delicate texture.
| Tool | Purpose | Recommended Length |
|---|---|---|
| Chef’s Knife | Primary slicing tool | 8-10 inches |
| Cutting Board | Safe meat preparation surface | Large plastic board |
| Meat Tenderizer | Flatten chicken breasts | Aluminum/Wood |
Invest in good meat cutting equipment for safe, efficient chicken prep. Your cooking will improve!
How to Properly Slice Chicken Breast
Mastering the art of slicing chicken breast is key to making tasty meals. The right way to cut can make a big difference in your cooking. It can also improve your cooking skills.
When preparing chicken breast, you need to be precise. Learning the right way to cut chicken ensures better results. It also helps the chicken absorb flavors better.
Essential Cutting Technique
To get perfect chicken breast slices, follow these steps:
- Start with a clean, sharp chef’s knife (6-14 inches recommended)
- Place the chicken breast on a stable cutting board
- Hold the breast firmly with your non-cutting hand
- Slice horizontally, aiming for ¼ inch thickness
- Use smooth, consistent motions for uniform cuts
Chicken Slicing Safety Guidelines
When preparing chicken, safety is a top priority. Always follow these important guidelines:
- Use separate cutting boards for raw chicken
- Wash hands thoroughly before and after handling
- Clean all surfaces with hot, soapy water
- Ensure chicken reaches internal temperature of 165°F (74°C)
“Precision in cutting leads to perfection in cooking” – Professional Chef Recommendation
Common Slicing Mistakes to Avoid
Here are common mistakes to avoid when cutting chicken:
- Using dull knives that tear meat instead of slicing cleanly
- Cutting against the grain, which creates tough meat
- Inconsistent slice thickness leading to uneven cooking
By following these tips, you can make your chicken breast slices just like a restaurant. They will cook evenly and taste amazing.
Perfect Seasoning Combinations for Sliced Chicken Breast

Turning your sliced chicken breast into something special starts with the right seasonings. The perfect mix can make your dish go from basic to amazing. It turns every meal into a fun journey of flavors.
Check out these exciting chicken marinade ideas that will make your taste buds dance:
- Classic Mediterranean Blend
- 1 tablespoon dried oregano
- 1 teaspoon garlic powder
- 1 teaspoon dried basil
- ½ teaspoon salt
- Spicy Cajun Kick
- 1 tablespoon paprika
- 1 teaspoon cayenne pepper
- 1 teaspoon onion powder
- ½ teaspoon black pepper
- Southwestern Flavor Fusion
- 1 tablespoon chili powder
- 1 teaspoon cumin
- ½ teaspoon smoked paprika
- ½ teaspoon garlic salt
For the best flavor, let your chicken sit with the seasonings for 15-20 minutes before cooking. This lets the spices soak into the meat. It makes the flavors richer and more intense.
“Seasoning is the secret language of cooking – speak it boldly!” – Professional Chef
Remember, the secret to great chicken seasonings is finding the right balance. Start with a little and add more until it tastes just right. Your creativity will make simple chicken into a dish to remember.
Temperature and Cooking Guidelines
Cooking chicken right is key for safety and taste. Knowing the chicken cooking temperature and times can make your meal special. It ensures your chicken is both delicious and safe.
Using a meat thermometer is essential for perfect chicken. The main goal is to hit the right internal temperature. This kills harmful bacteria and keeps the chicken juicy.
Optimal Cooking Temperatures
For sliced chicken breast, aim for an internal temperature of 165°F (74°C). Cooking methods affect temperatures and times:
- Oven baking: 450°F for 12-20 minutes
- Grilling: 375-450°F for 6-10 minutes
- Pan-frying: Medium-high heat for 6-8 minutes
Cooking Times for Different Thicknesses
Chicken slice thickness affects cooking time. Thinner slices cook faster, while thicker ones need more care.
| Chicken Slice Thickness | Cooking Time | Recommended Temperature |
|---|---|---|
| 1/2 inch | 6-8 minutes | 450°F |
| 3/4 inch | 8-12 minutes | 425°F |
| 1 inch | 12-15 minutes | 400°F |
Meat Thermometer Techniques
A meat thermometer is your best friend for checking chicken. Stick the probe into the thickest part, avoiding bone or fat. Wait a bit for an accurate reading.
“The difference between perfectly cooked and overcooked chicken is just a few degrees.” – Professional Chef
After cooking, let your chicken rest for 5-10 minutes. This lets juices spread, making it moist and flavorful.
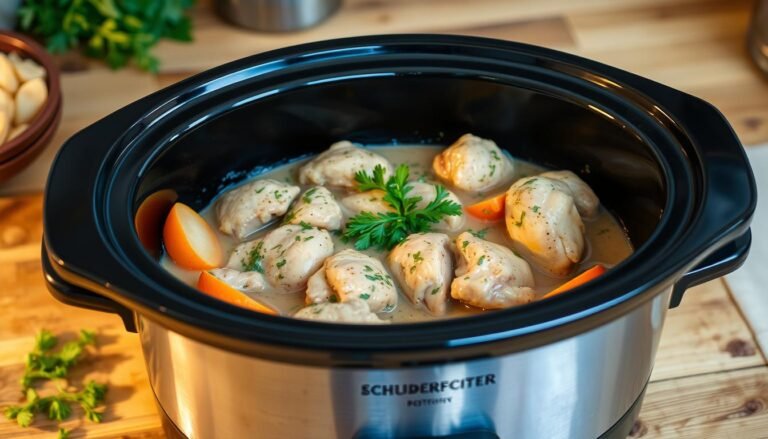
Storage and Meal Prep Solutions
Keeping chicken breast stored properly is key for safety and taste. The FDA says to store cooked chicken in the fridge for 4 days max. Planning your meal prep with chicken can save time and make healthy meals all week.

Freezing chicken breast is great for long-term storage. Here are some important tips for storing chicken:
- Cool cooked chicken completely before storing
- Use airtight containers or freezer bags
- Label containers with the date of storage
- Freeze chicken within 2 hours of cooking
*Pro tip: Divide chicken into portion-sized containers for easy meal preparation.*
Meal prep with chicken is easy with smart storage. Cooked chicken can be frozen for up to 3 months, ideal for batch cooking. When reheating, make sure it reaches 165°F for safety.
| Storage Method | Maximum Storage Time |
|---|---|
| Refrigerator | 4 days |
| Freezer | 3 months |
Learning these freezing techniques makes meal prep faster. You’ll always have a protein-rich option for quick, healthy meals.
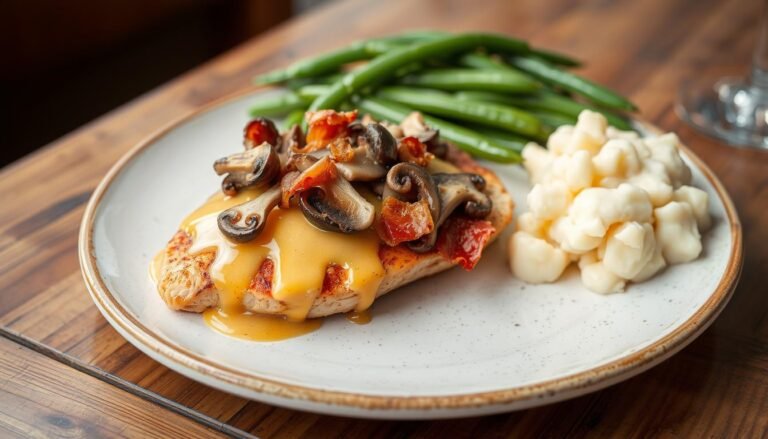
Versatile Ways to Use Sliced Chicken Breast
Sliced chicken breast opens up a world of culinary possibilities for home cooks. It’s perfect for quick and delicious meals. Whether it’s for weeknight dinners or special gatherings, these cuts can change your cooking.
Quick Weeknight Meals
Find chicken breast recipes that make dinner easy. Thin-sliced chicken lets you make tasty meals in 30 minutes or less. Here are some quick chicken meals to try:
- Chicken Stir-Fry with Fresh Vegetables
- Crispy Chicken Wraps
- Skillet Chicken Parmesan
- Taco-Style Chicken Bowls
Healthy Lunch Options
Meal prepping is easy with these nutritious chicken dishes. They’re packed with protein and flavor, keeping you full all day:
- Grilled Chicken Salad
- Chicken and Quinoa Power Bowl
- Mediterranean Chicken Lettuce Wraps
- Protein-Packed Chicken Caesar Wrap
Party and Entertainment Ideas
Wow your guests with these crowd-pleasing sliced chicken appetizers and finger foods. They’re perfect for gatherings:
| Appetizer | Preparation Time | Difficulty |
|---|---|---|
| Chicken Bruschetta Bites | 20 minutes | Easy |
| Chicken Satay Skewers | 25 minutes | Medium |
| Mini Chicken Quesadillas | 15 minutes | Easy |
“Sliced chicken breast is the ultimate canvas for culinary creativity!” – Professional Chef
Mastering these versatile recipes turns simple sliced chicken breast into amazing meals. Try different seasonings and cooking techniques to make each dish your own!
Professional Tips for Restaurant-Quality Results
Turn your home cooking into a gourmet feast with these chef tips for chicken. Making restaurant-style chicken is all about precision, technique, and detail. These elements turn simple meals into culinary masterpieces.
Great chicken begins long before it’s cooked. Here are expert tips for achieving top-notch results:
- Brine your chicken for maximum flavor and tenderness
- Use precise temperature control during cooking
- Master the art of even thickness
- Let chicken rest after cooking
“The secret to perfect chicken is in the preparation, not just the cooking.” – Professional Chef Recommendation
Brining is key to gourmet chicken. Chefs suggest a brine of 4 cups water and 4 tablespoons kosher salt for 4-6 breasts. Brine for 30-60 minutes to boost flavor without over-salting.
Temperature control is vital for restaurant-style chicken. Aim for an internal temperature of 165°F. But, pull the chicken at 160°F to account for carryover cooking. Different cooking methods need different approaches:
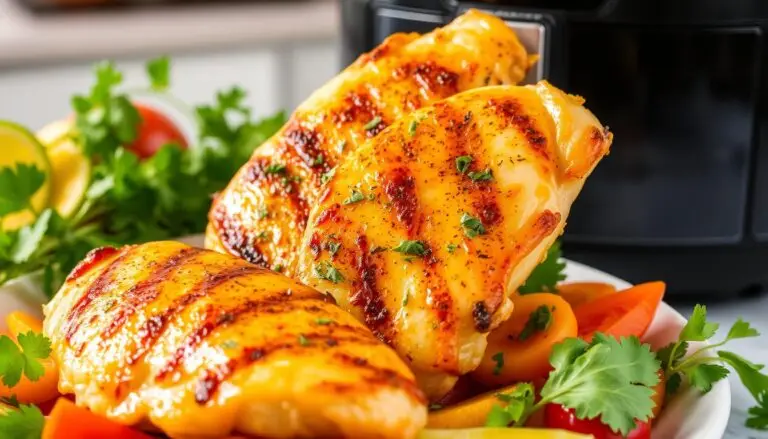
| Cooking Method | Approximate Time | Temperature |
|---|---|---|
| Grilling | 4-5 minutes per side | 400°F |
| Roasting | 20-25 minutes | 425°F |
| Air Frying | 12-15 minutes | 375°F |
Even chicken thickness is crucial. Pounding chicken breasts to about ½-inch ensures even cooking and prevents dry edges. Thicker cuts need longer cooking times to stay moist and tender.
Troubleshooting Common Issues with Sliced Chicken Breast
Even experienced cooks face chicken cooking problems. Up to 75% of cooks deal with dry chicken breasts. Knowing how to fix chicken texture issues can greatly improve your cooking.
Dry chicken usually comes from overcooking. The solution is precise temperature control and cooking methods. A meat thermometer is essential, helping you reach the perfect 165°F without drying the meat.
“Moisture is the secret to tender chicken – pay attention to your cooking method and timing.”
- Use a reliable meat thermometer
- Allow chicken to rest 5-10 minutes after cooking
- Avoid high heat cooking methods
- Marinate for added moisture and flavor
Quick fixes can save overcooked chicken. Try these to add moisture back:
- Slice and add to saucy dishes
- Shred and mix with creamy sauces
- Create chicken salad with mayonnaise
- Use in soups or stews
Preventing chicken texture issues is better than fixing them. Let chicken rest before cooking, use proper techniques, and check the internal temperature. This can greatly improve your cooking results.
Conclusion
Exploring how to slice and prepare chicken breast has given you key skills. These skills turn simple meals into amazing dishes. You can now make quick, healthy meals in under 30 minutes, making cooking fun and easy.
Knowing how to prepare chicken opens up a world of recipe ideas. You’ve learned how to cut chicken right and cook it to the perfect 165°F. Thin-sliced chicken cooks fast and soaks up flavors well, giving you endless options in the kitchen.
Your journey in mastering chicken preparation continues. Every technique you’ve learned, from slicing to seasoning, lets you create meals that show off your culinary creativity. Whether it’s a weeknight dinner or a party, your chicken will always be tender and full of flavor.
Cooking is a journey that never ends. Keep practicing, trying new seasonings, and enjoying the tasty results of your skills. Your kitchen is a place to express yourself, and thin-sliced chicken is your tool to do so.