The Best Philadelphia-Style Ice Cream for Creamy Homemade Perfection
Some cooking discoveries feel like revelations. Not the kind that require years of culinary school or a shelf full of professional equipment — just a quiet, honest moment when a simple technique produces results so good that you wonder why you ever did it any other way.
Philadelphia-style ice cream is exactly that kind of discovery. No eggs. No custard. No anxiety. Just clean, pure, impossibly creamy ice cream made from a handful of pantry staples and a method so straightforward it almost feels like cheating.
Whether you’re a seasoned home cook or someone who has never attempted homemade frozen desserts before, this guide will walk you through everything — the base recipe, three distinct flavor variations, and every tip and trick that separates a good batch from a genuinely unforgettable one.
What Makes Philadelphia-Style Ice Cream Different?
Traditional ice cream starts with a custard base. Egg yolks, sugar, and cream are cooked together carefully over heat, requiring constant stirring, precise temperature control, and a fair amount of patience. The result is undeniably rich — but the process can be intimidating, and there’s always the risk of curdling if your attention wanders for even a moment.
Philadelphia-style ice cream removes all of that complexity. There are no eggs in the formula whatsoever. The base is simply cream, milk, sugar, salt, and your chosen flavoring — whisked together and either chilled or churned directly. The flavor profile is noticeably lighter and fresher than a custard-based version, which actually works in its favor. Vanilla tastes more like vanilla. Strawberry tastes more like strawberry. Nothing gets muddied by the richness of egg yolk.
The method doesn’t sacrifice creaminess, either. With the right ratio of cream to milk and a proper chilling or churning technique, the texture is smooth, scoopable, and deeply satisfying — exactly what ice cream should be.
The Master Base Recipe (5 Ingredients)
Before diving into individual flavors, it helps to understand the foundation that every variation builds on. Master this and you’ve essentially unlocked the ability to make any flavor you want.
Ingredients:
- 2 cups heavy cream
- 1 cup whole milk
- ¾ cup granulated white sugar (or 8 tablespoons of honey as a natural alternative)
- ¼ teaspoon fine sea salt
- 1 tablespoon pure vanilla extract or 1 whole vanilla bean, split lengthwise
Method One — The Gold Standard (Simmer Method): Warm one cup of the heavy cream together with the sugar and salt in a small saucepan over medium heat. Stir gently until the sugar has fully dissolved — you’re not looking for a boil, just enough warmth to eliminate every last granule. If you’re using a vanilla bean, scrape the seeds into the warm cream and drop the pod in to steep for ten minutes before removing it.
Add the remaining cold cream, the whole milk, and your vanilla extract (if using) and whisk until fully combined. Transfer to a container and refrigerate for at least two hours, or ideally overnight. Chilling the base before churning produces a noticeably smoother, creamier result.
Method Two — The Quick Method (Whisk and Go): Combine all ingredients in a large bowl or pitcher. Whisk vigorously until the sugar dissolves as thoroughly as possible. Pour directly into your ice cream maker and churn according to the manufacturer’s instructions. The texture will be excellent — honest, genuinely good ice cream — even without the simmering step. On a busy weeknight, this is the version you’ll reach for most often.
No Machine? No Problem: Pour your base into a shallow, freezer-safe dish and place it in the freezer. After two hours, remove it and beat the mixture firmly with an electric hand whisk — this breaks up ice crystals before they have a chance to become coarse. Return the dish to the freezer for another two hours and repeat the process. After the second whisking, let the mixture freeze completely undisturbed. The result is smoother than most people expect and genuinely impressive for a machine-free method.
Recipe 1: Classic Vanilla Bean Ice Cream
The one that started it all. Simple, elegant, and endlessly versatile — this is the version you’ll come back to again and again.
Ingredients:
- 2 cups heavy cream
- 1 cup whole milk
- ¾ cup granulated sugar
- ¼ teaspoon fine sea salt
- 1 whole vanilla bean, split and scraped
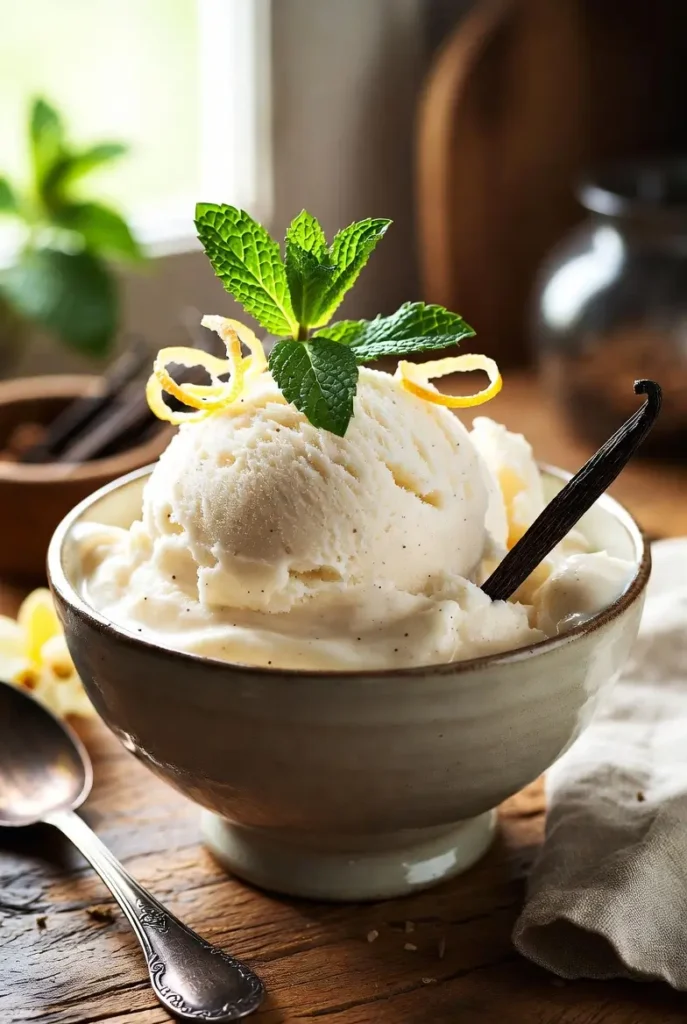
Instructions: Follow the simmer method above, steeping the vanilla pod in the warmed cream for a full ten minutes to extract maximum flavor. The specks of real vanilla bean throughout the finished ice cream are both visually beautiful and intensely aromatic. Chill the base overnight for the best possible texture, then churn for 20–25 minutes or until it reaches a thick, soft-serve consistency. Transfer to a container, press a sheet of parchment paper against the surface, and freeze for at least four hours before serving.
Serving suggestion: Scoop into a warm waffle cone alongside a drizzle of salted caramel sauce, or serve alongside a slice of warm apple pie. The clean vanilla flavor pairs with almost everything.
Optional mix-ins: Fold in chunks of brownie, crumbled oatmeal cookie, or swirls of cookie dough during the last two minutes of churning.
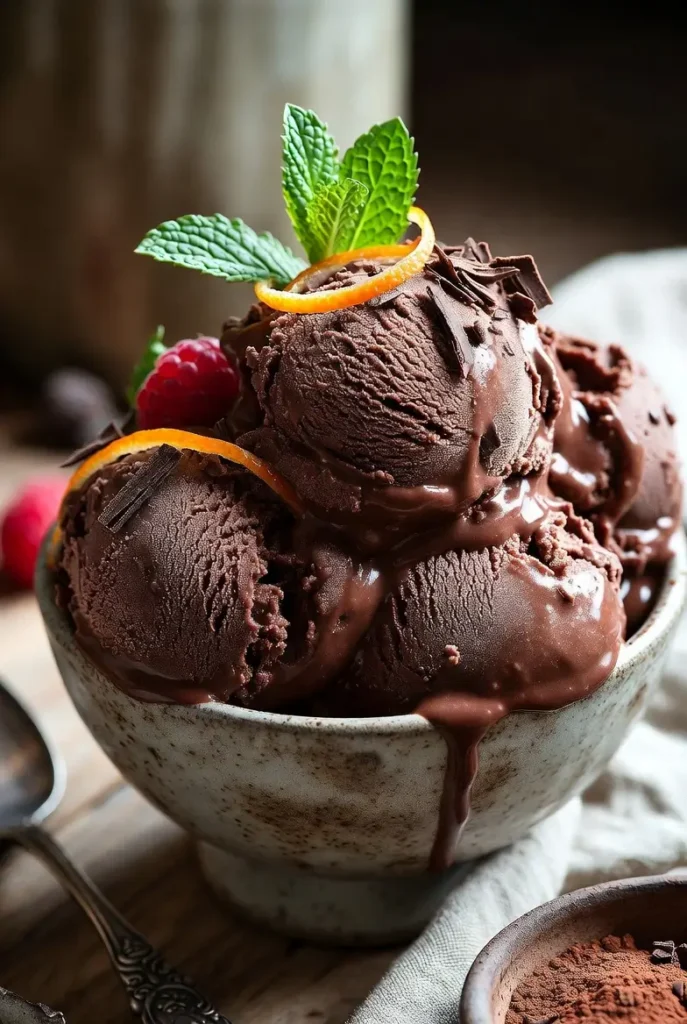
Recipe 2: Dark Chocolate Ice Cream
Rich, deeply flavored, and completely satisfying — this chocolate version uses both cocoa powder and melted chocolate chips for a layered complexity that single-ingredient chocolate ice creams rarely achieve.
Ingredients:
- 2 cups heavy cream
- 1 cup whole milk
- ¾ cup granulated sugar
- ¼ teaspoon fine sea salt
- ⅓ cup high-quality unsweetened cocoa powder
- ½ cup dark chocolate chips, melted and slightly cooled
- 1 teaspoon vanilla extract
Instructions: In a saucepan over medium heat, whisk together the cocoa powder, sugar, salt, and one cup of the heavy cream. Heat gently, stirring constantly, until the cocoa and sugar are fully dissolved and the mixture is smooth and fragrant — about four to five minutes. Remove from heat and whisk in the melted dark chocolate until completely incorporated.
Add the remaining cold cream, the whole milk, and the vanilla extract. Whisk until uniform, then transfer to the refrigerator and chill for a minimum of three hours. The extra chill time is especially important here because of the added fat from the chocolate.
Churn for 20–25 minutes. The finished ice cream should be deeply dark in color, glossy, and thick. Transfer to a container and freeze for four hours before scooping.
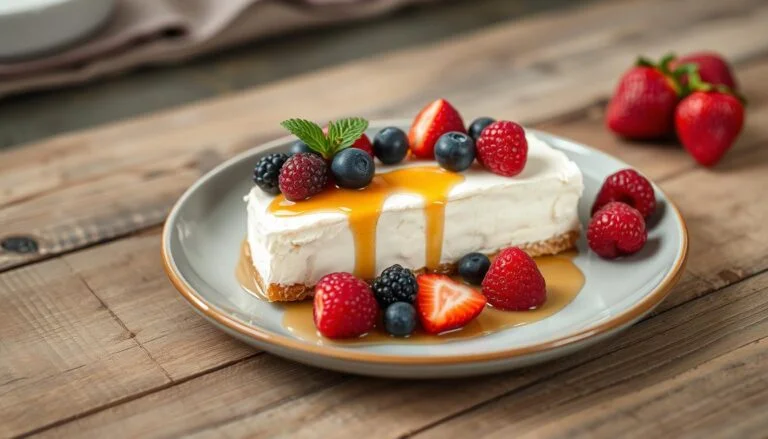
Serving suggestion: Serve with a warm raspberry sauce or a dusting of flaky sea salt over each scoop. The bitterness of the dark chocolate against the sweet, bright berry is one of the great flavor combinations in dessert.
Pro tip: For an even more intense chocolate flavor, substitute the vanilla extract with a small splash of espresso. You won’t taste coffee — you’ll just taste more chocolate.
best amazon picks:
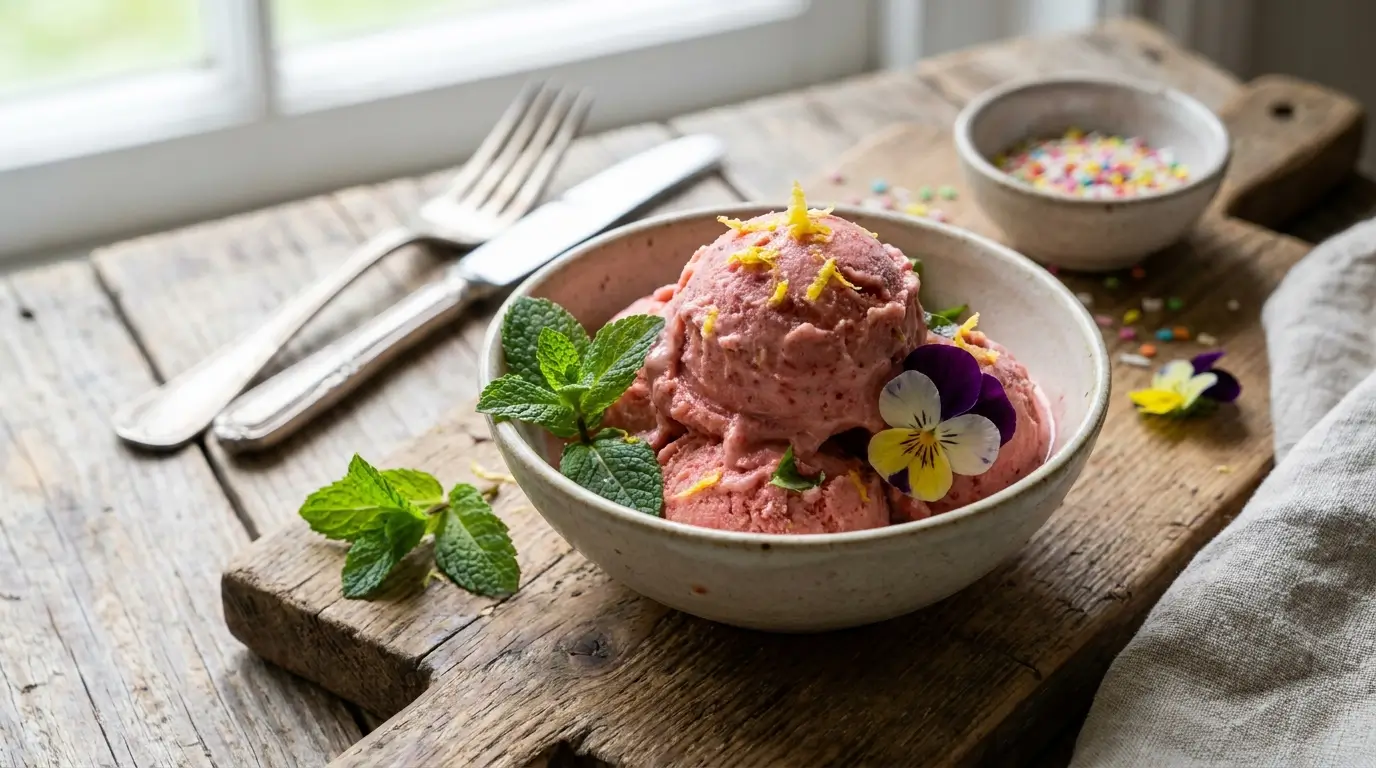
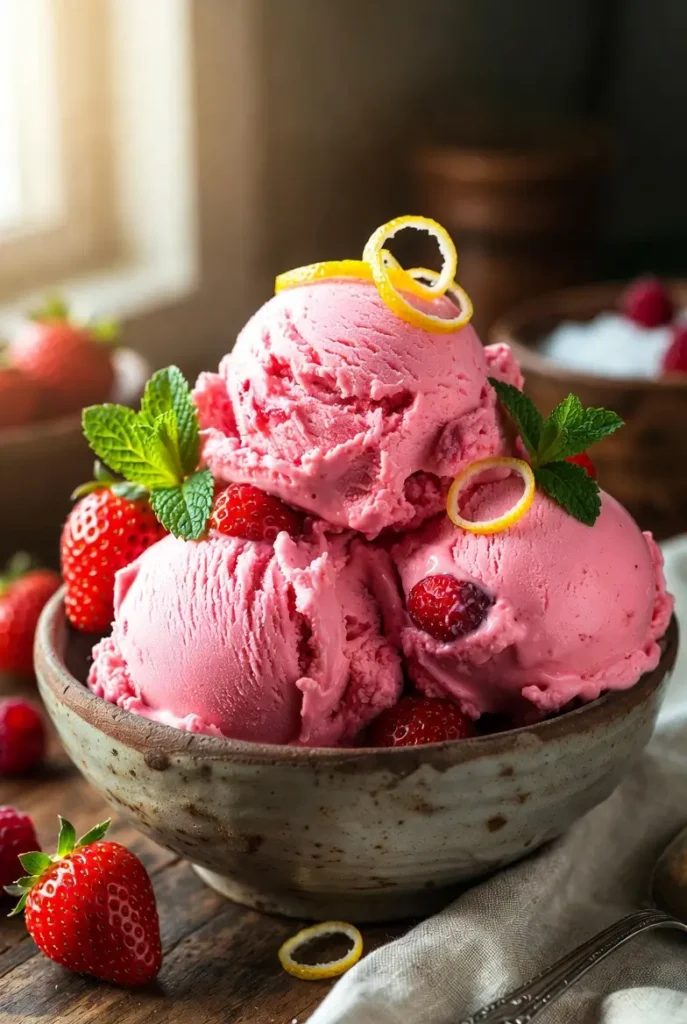
Recipe 3: Fresh Strawberry Ice Cream
Bright, fruity, and unapologetically summery. This version uses real macerated strawberries rather than artificial flavoring or syrup, which means the strawberry flavor is genuine, vibrant, and nothing like anything you’d find in a grocery store freezer.
Ingredients:
- 1½ cups heavy cream
- ¾ cup whole milk
- ½ cup granulated sugar, divided
- ¼ teaspoon fine sea salt
- 1 teaspoon vanilla extract
- 1½ cups fresh strawberries, hulled and roughly chopped
- 1 teaspoon fresh lemon juice
Instructions: Begin by macerating the strawberries. Toss the chopped berries with three tablespoons of the sugar and the lemon juice in a bowl. Let them sit at room temperature for 30 minutes, stirring occasionally. The berries will release their juices, creating a fragrant, lightly syrupy mixture. Mash roughly with a fork — you want texture, not a completely smooth purée.
While the berries macerate, warm the heavy cream with the remaining sugar and salt over medium heat until the sugar dissolves fully. Remove from heat, let cool slightly, then stir in the milk, vanilla extract, and macerated strawberry mixture including all the juices. Chill for at least two hours.
Churn for 20–25 minutes. The strawberry pieces will break down further during churning, creating a beautiful pink-swirled result with occasional bursts of concentrated berry. Freeze for four hours before serving.
Serving suggestion: Top generously with warm chocolate sauce or a simple fresh berry compote. A few torn basil leaves scattered over the bowl adds a surprisingly sophisticated herbal note that works wonderfully with strawberry.
Community Tips Worth Knowing
On sweeteners: Honey substitutes beautifully for granulated sugar — use eight tablespoons in place of the three-quarter cup measure. It adds a gentle floral quality that works particularly well in the vanilla and strawberry versions.
On texture: The single most important thing you can do for texture is dissolve the sugar completely. Undissolved sugar creates grittiness that no amount of churning will fix. The simmer method eliminates this issue entirely.
On storage: Press a sheet of parchment or plastic wrap directly against the surface of the ice cream before sealing the container. This prevents ice crystals from forming on top and keeps the texture smooth for up to two weeks.
If you love this recipe, please consider giving it a star rating when you leave a comment. Star ratings help people discover my recipes online. Your support means a lot to me, I appreciate you.
No Title
Excellent!!!